Continuing our new 3D Thursday blog series, we follow-up our first post with the next steps in learning as we begun to understand how exactly a 3D printer can be best utilized.
So we started small—very small.
Our first real print is considered a calibration print. A calibration print is something that helps get the settings for your printer without wasting a lot of the plastic filament. The calibration piece was provided on the memory card that came with our Flashforge Creator Pro. A simple two-tone traffic cone print would exhibit all the facets of the printer—square shapes, bump-outs, circular motion, tapering and changing colors between the two filament nozzles.
While this may not look like much, this traffic cone was the pinnacle to understanding our machine at this point. It showed us the capabilities of the printer and encouraged us to delve deeper.
The next batch of prints was a step up from the traffic cone. Using the open-source 3D printing community of Thingiverse, we selected some basic designs to print on our own.
An item on Thingiverse that has a multitude of varying iterations is drink coasters. As boring as it sounds, the numerous coasters on the site are all extremely detailed and would help us refine the resolution of our printing.
The two prints we selected were the Seattle Seahawks and Chicago Bears logos on coasters. At first we had some failed prints that weren’t sticking to the heat bed, so we made some temperature adjustments and by round two had our printer dialed perfectly. While the prints don’t include the multi-color look that the original designs on Thingiverse presented, a single color still gave us the sharpness the logos required.
Take a look at the image and see let us know what you think.
Now two of our employees (myself included) have home-printed coasters representing our favorite NFL teams and they look pretty cool and are functional as well.
Once completed and admired for some time, we jumped back in to see what else we could find to print that could be useful or even something that just appealed to us and wanted to see if we could make it.
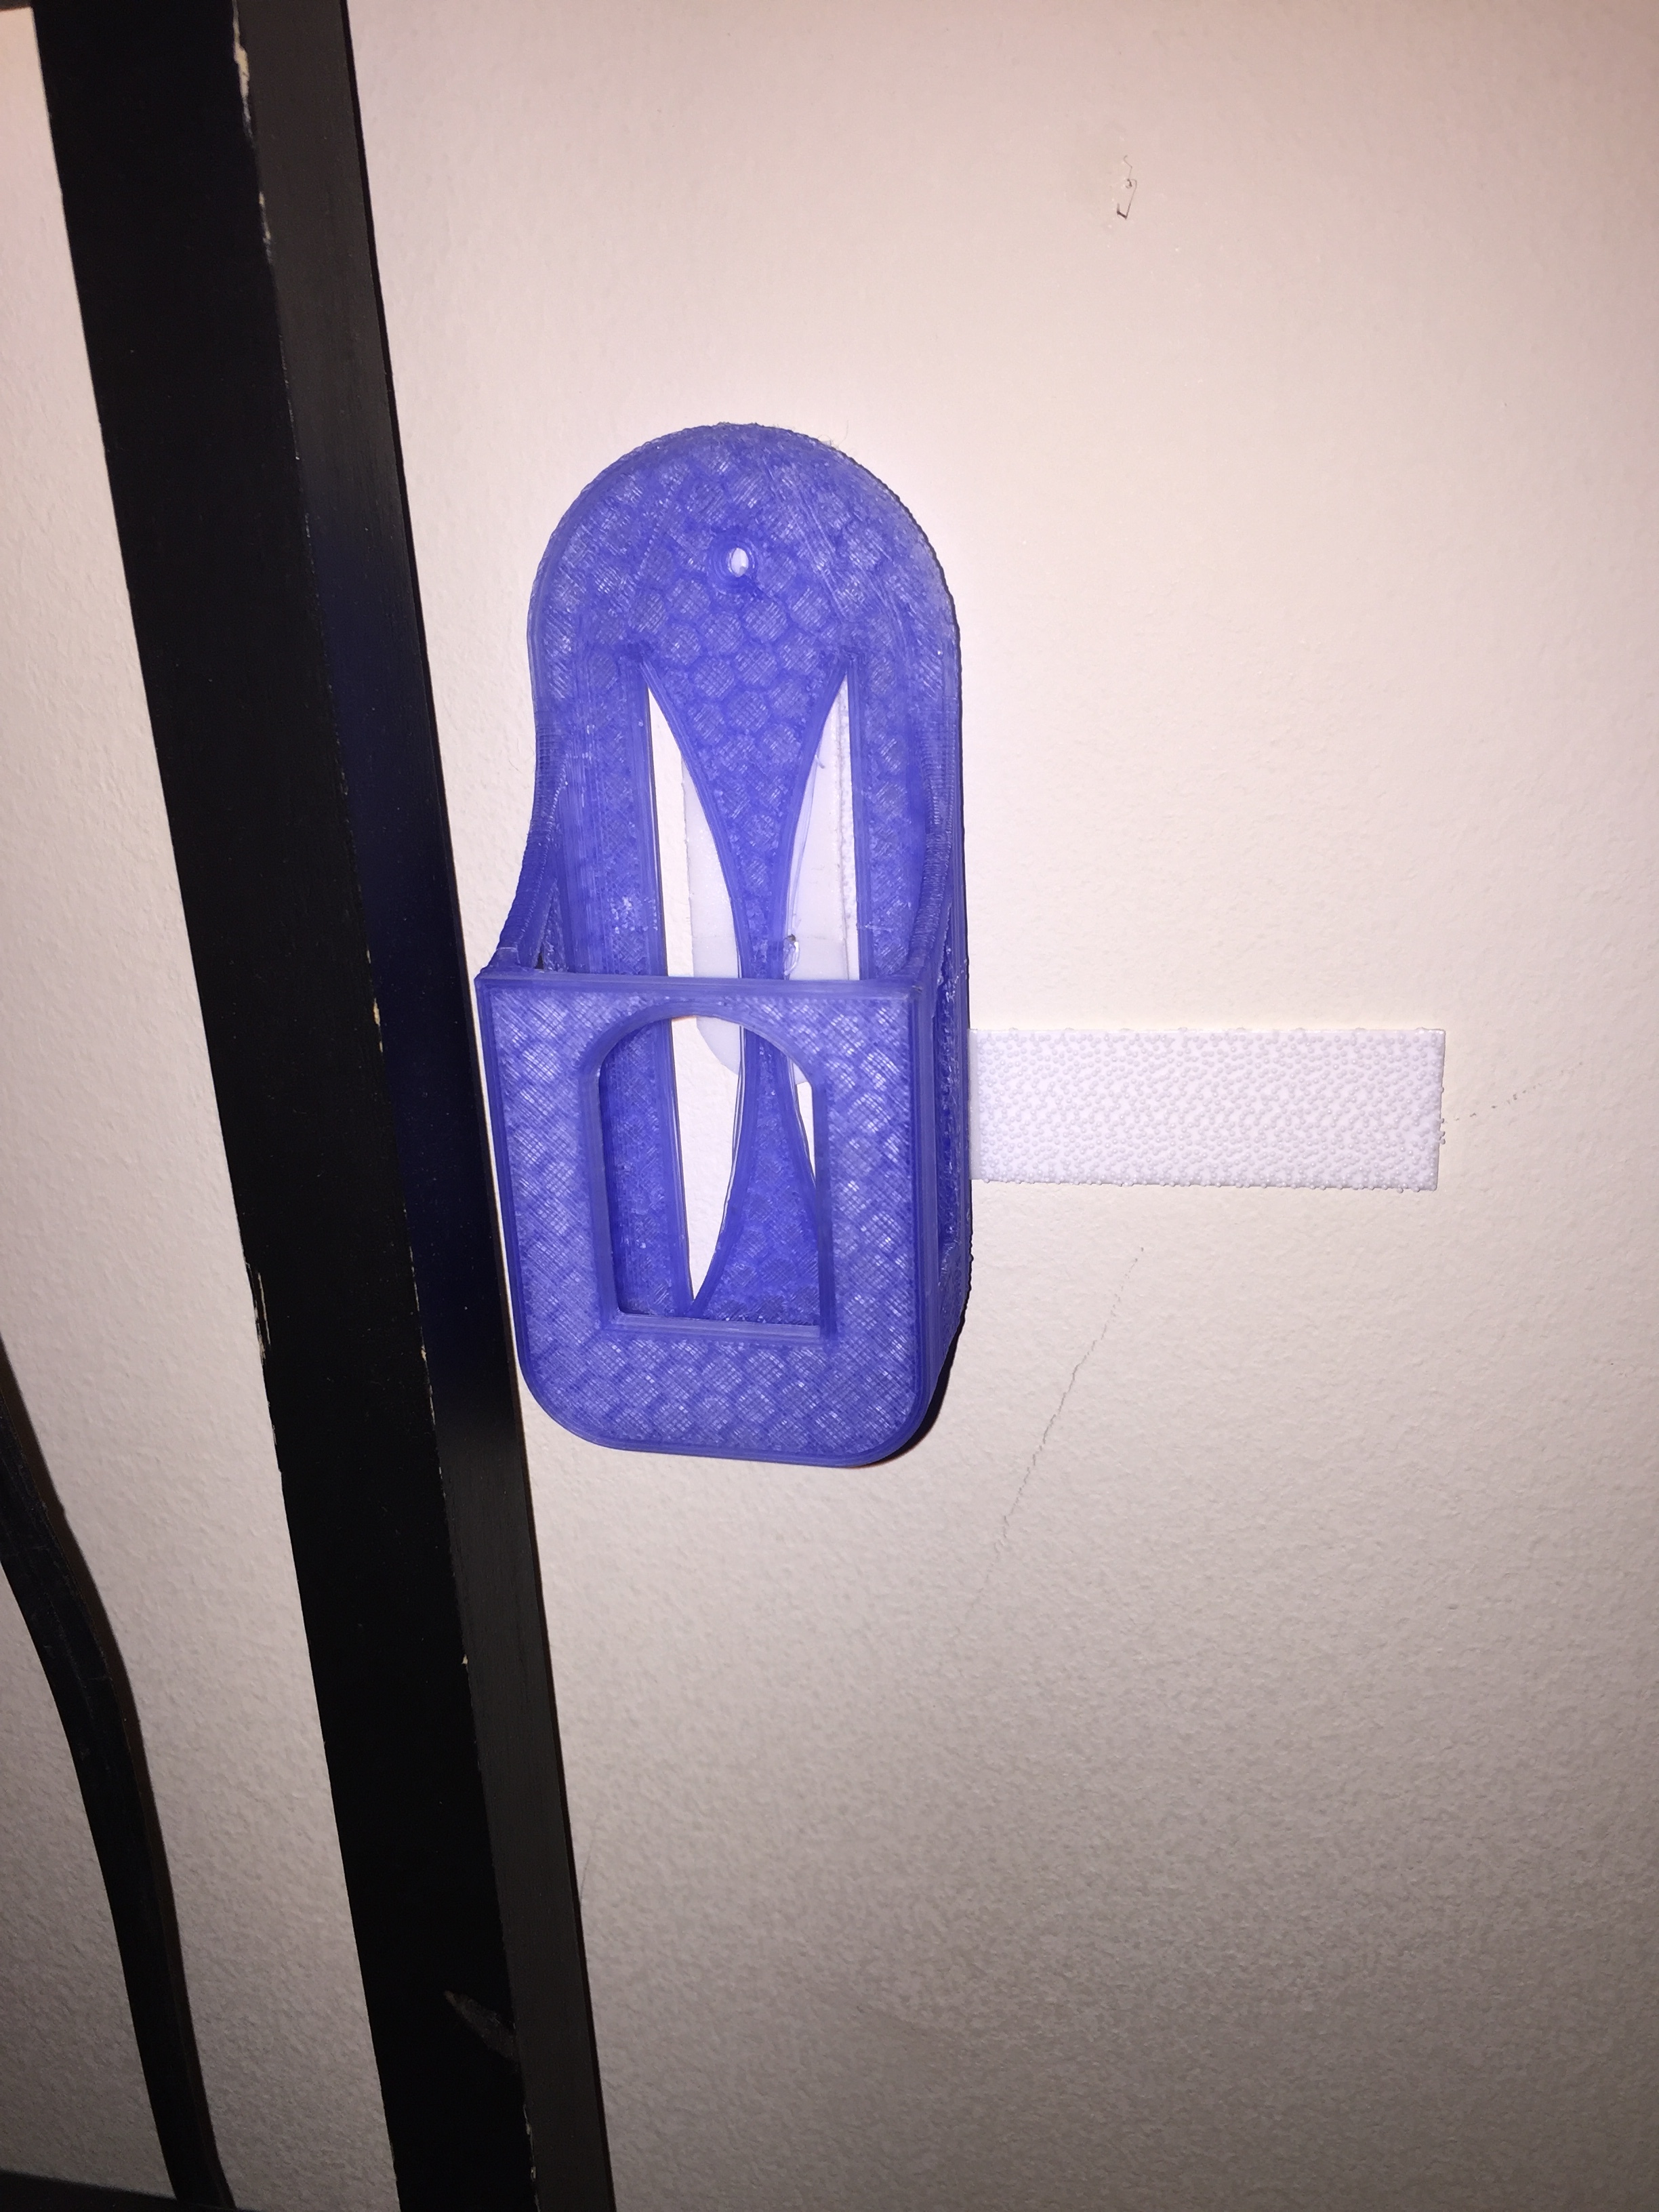
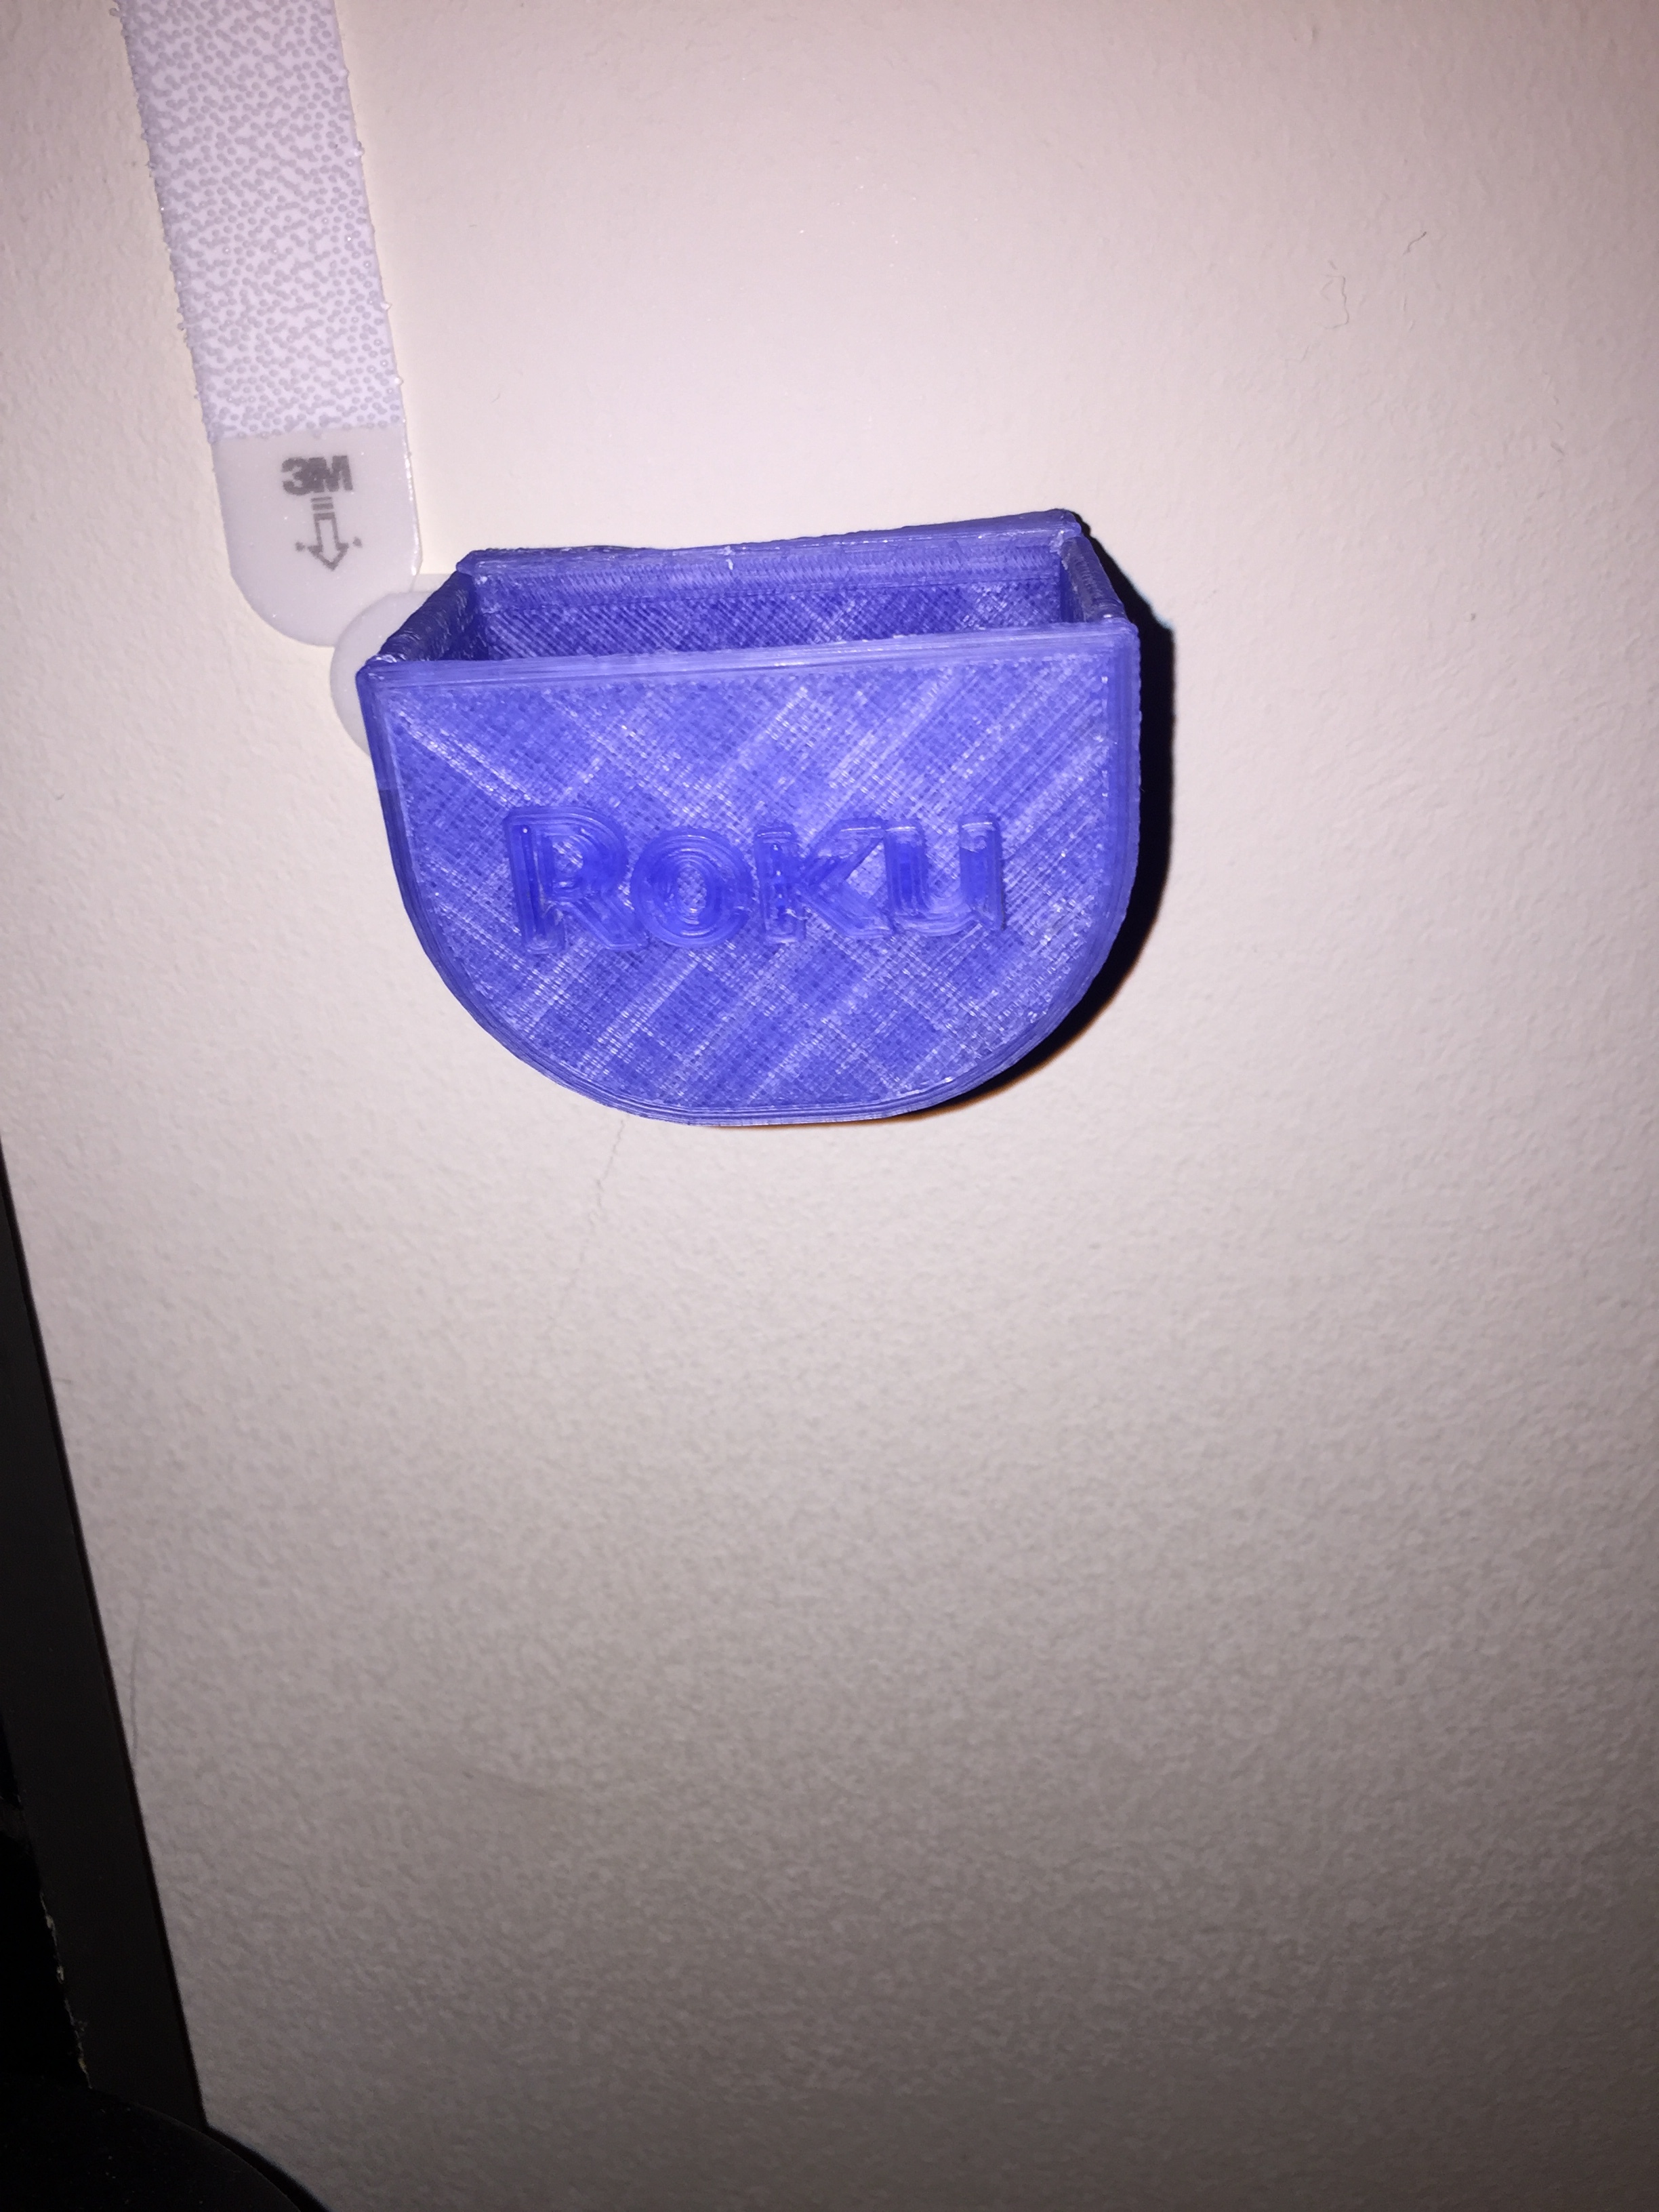
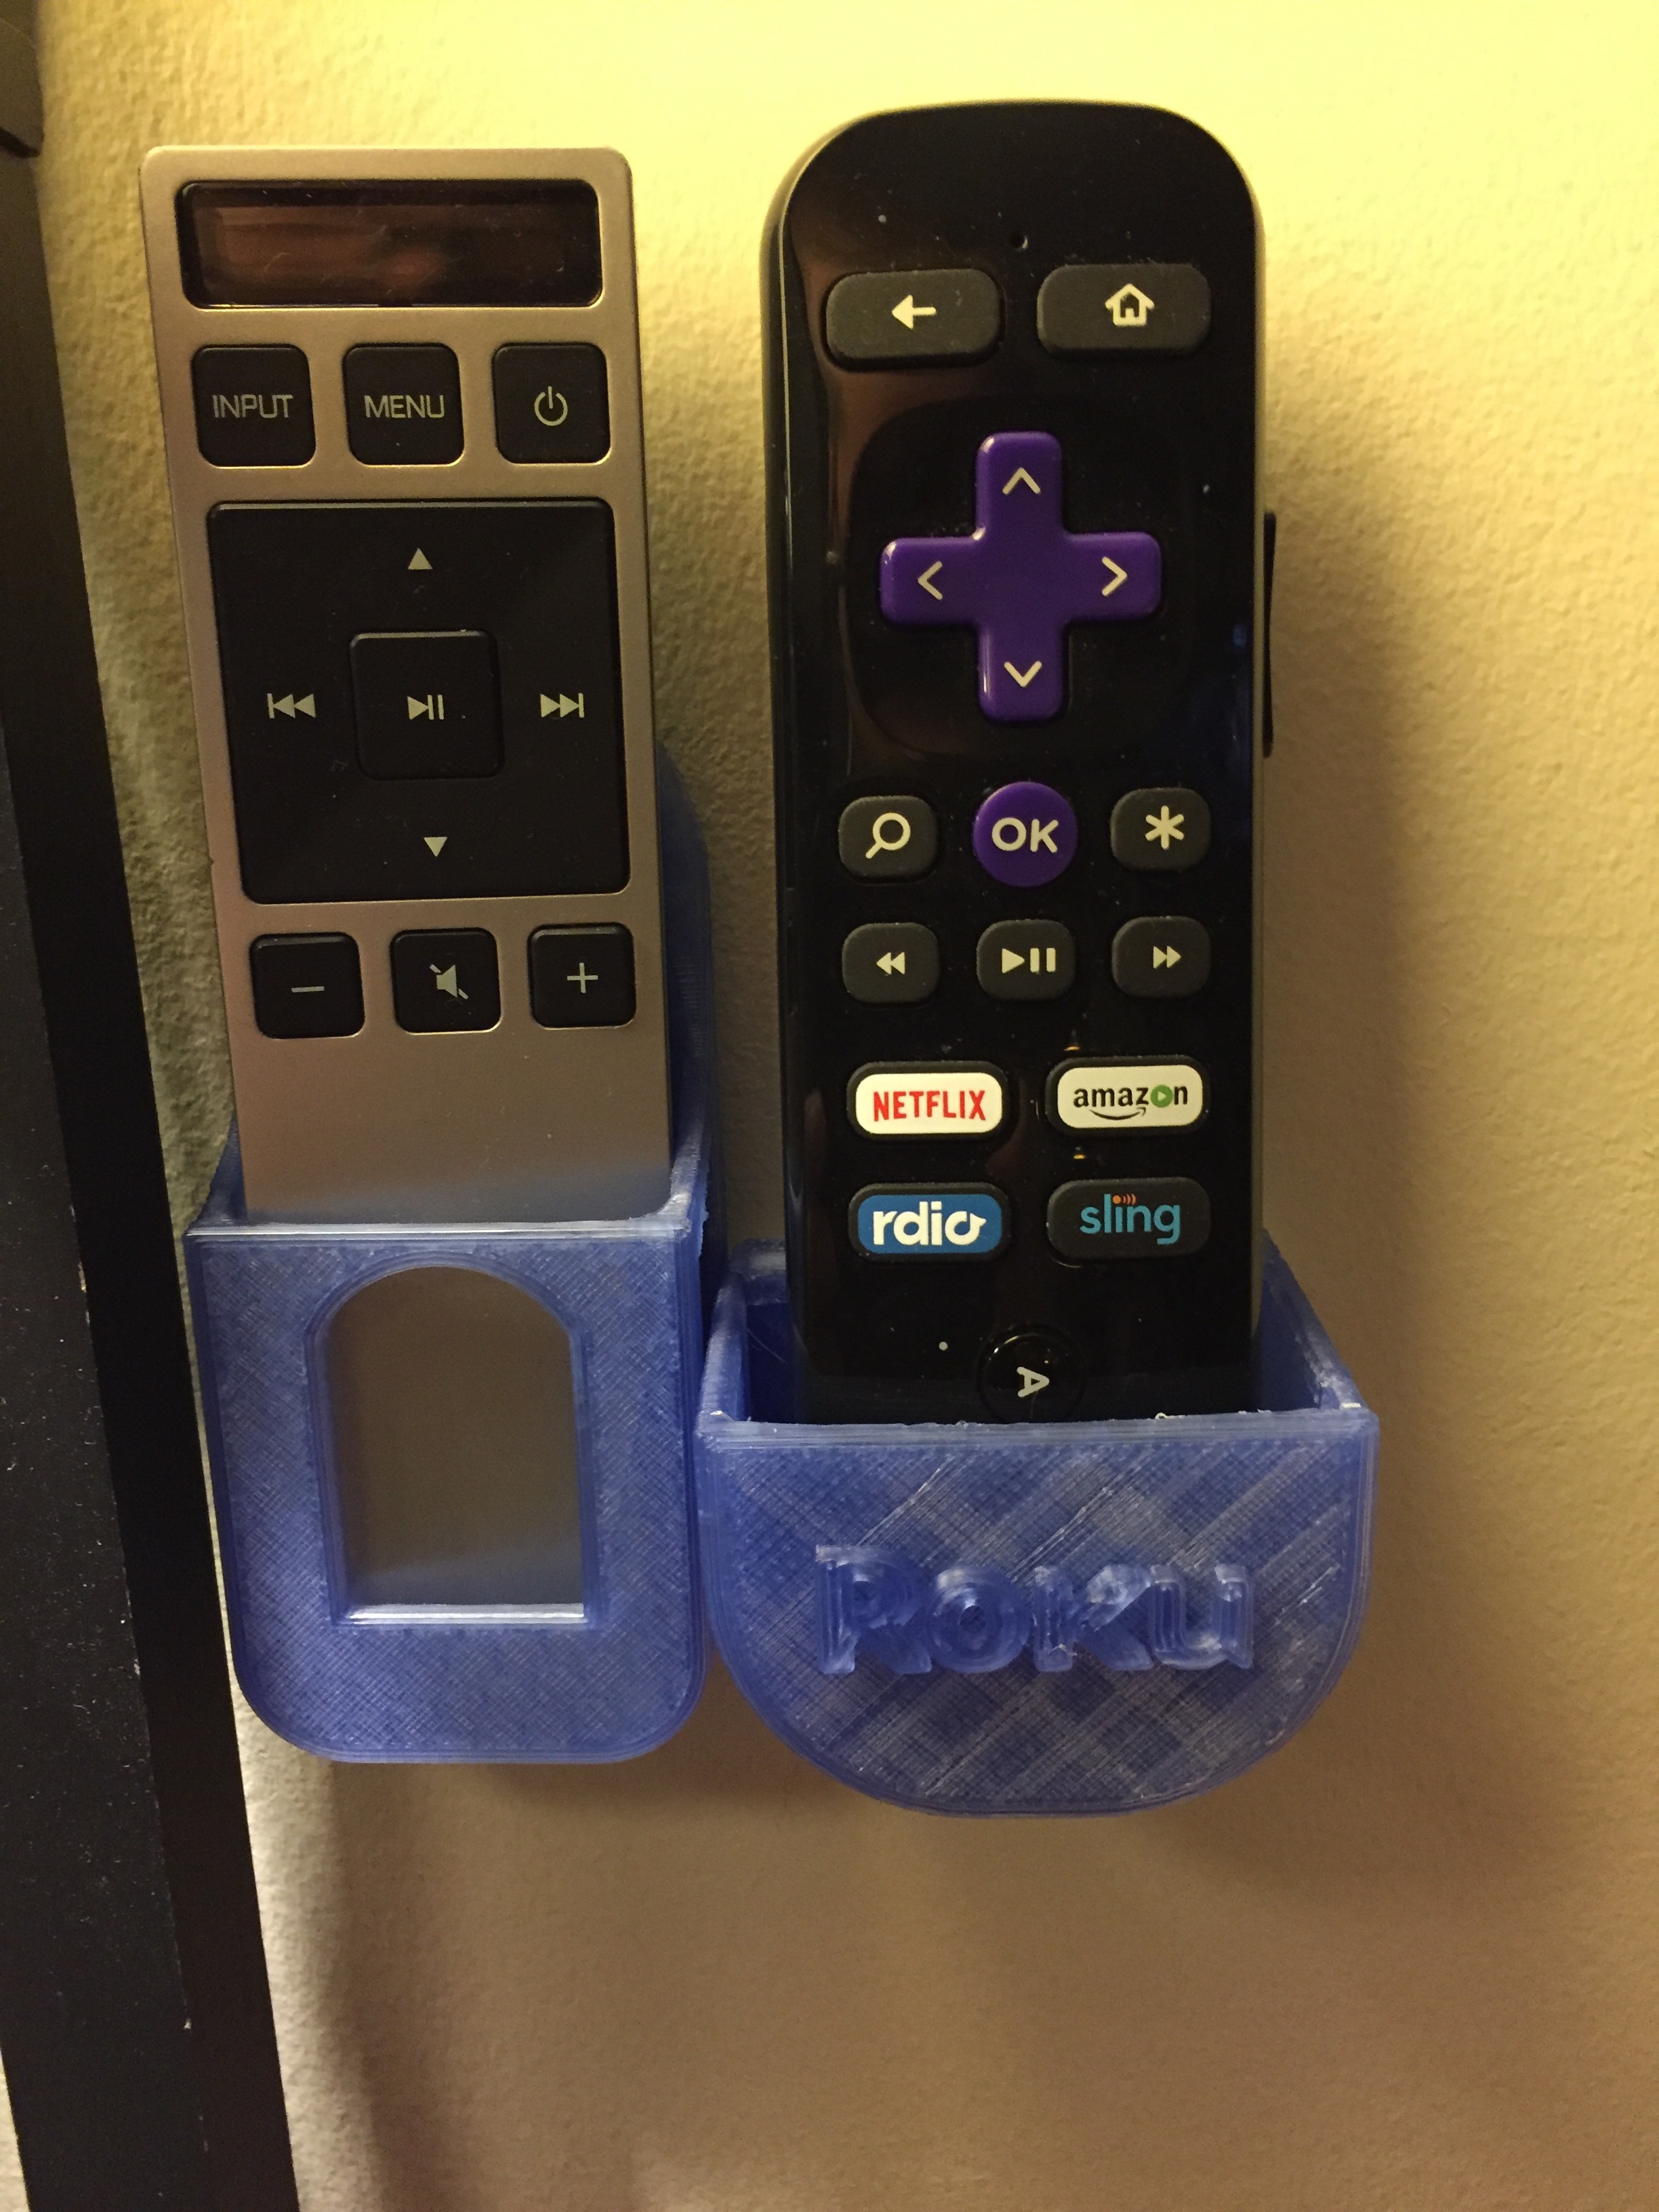
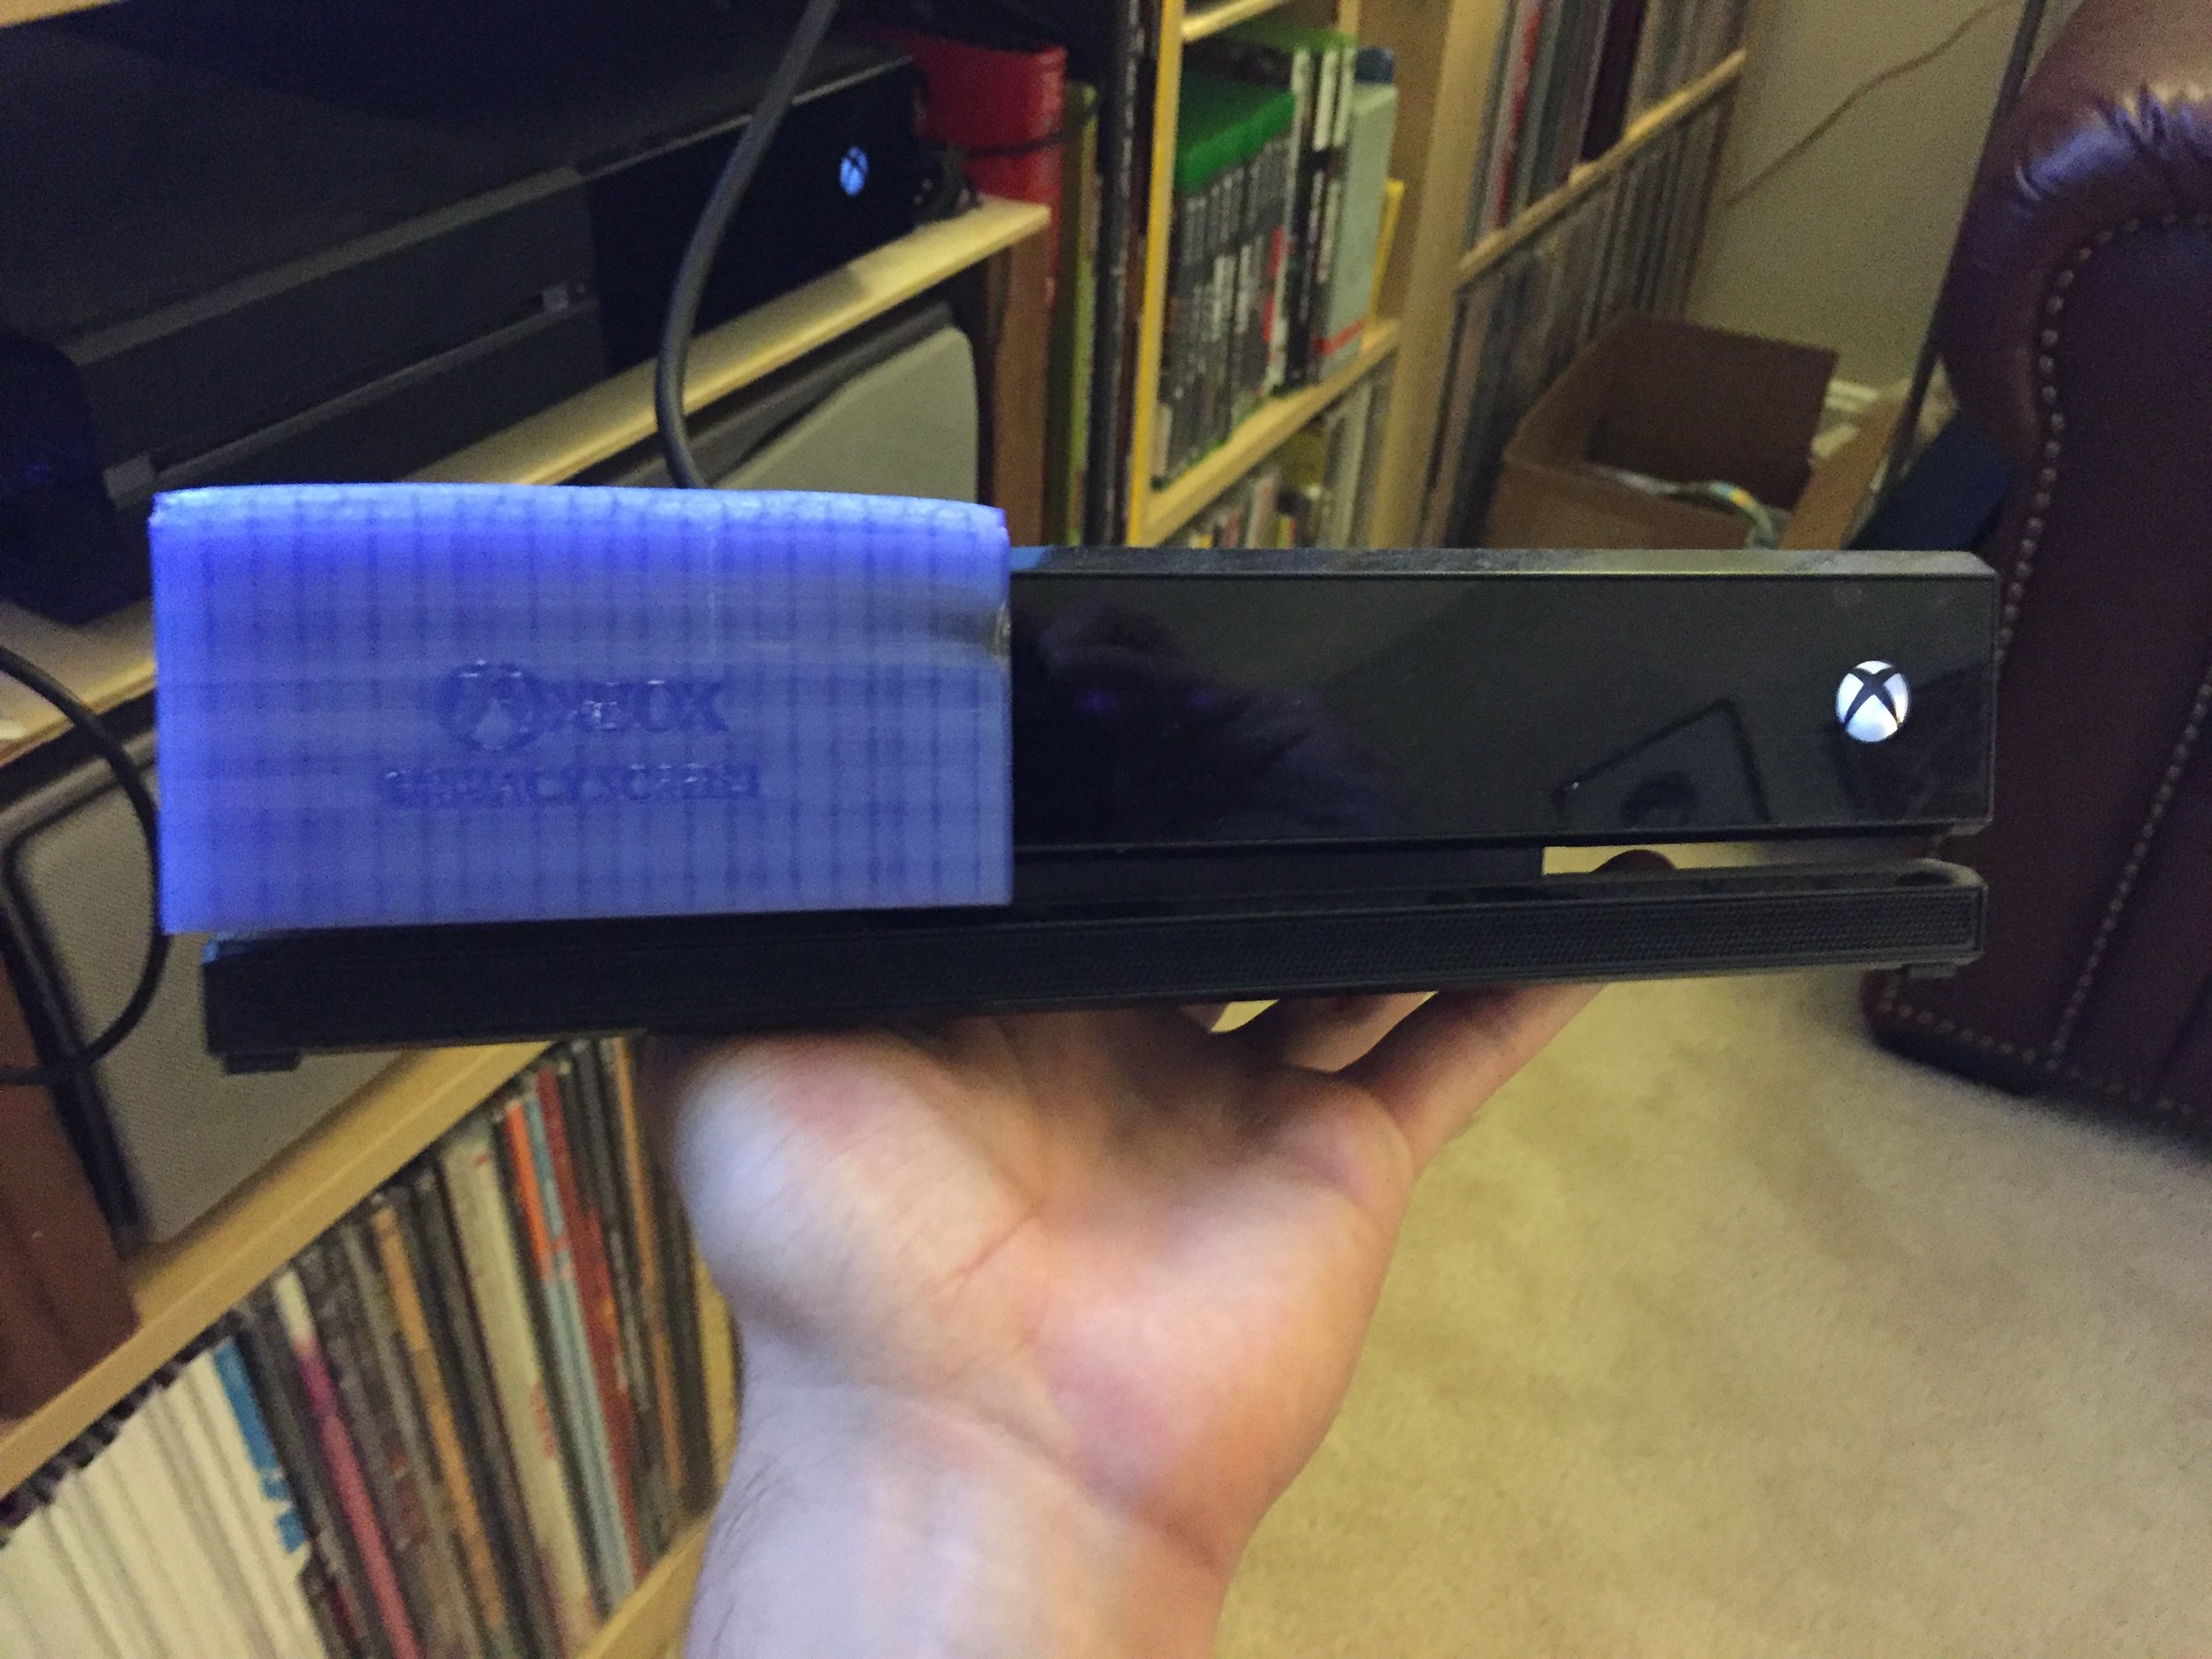
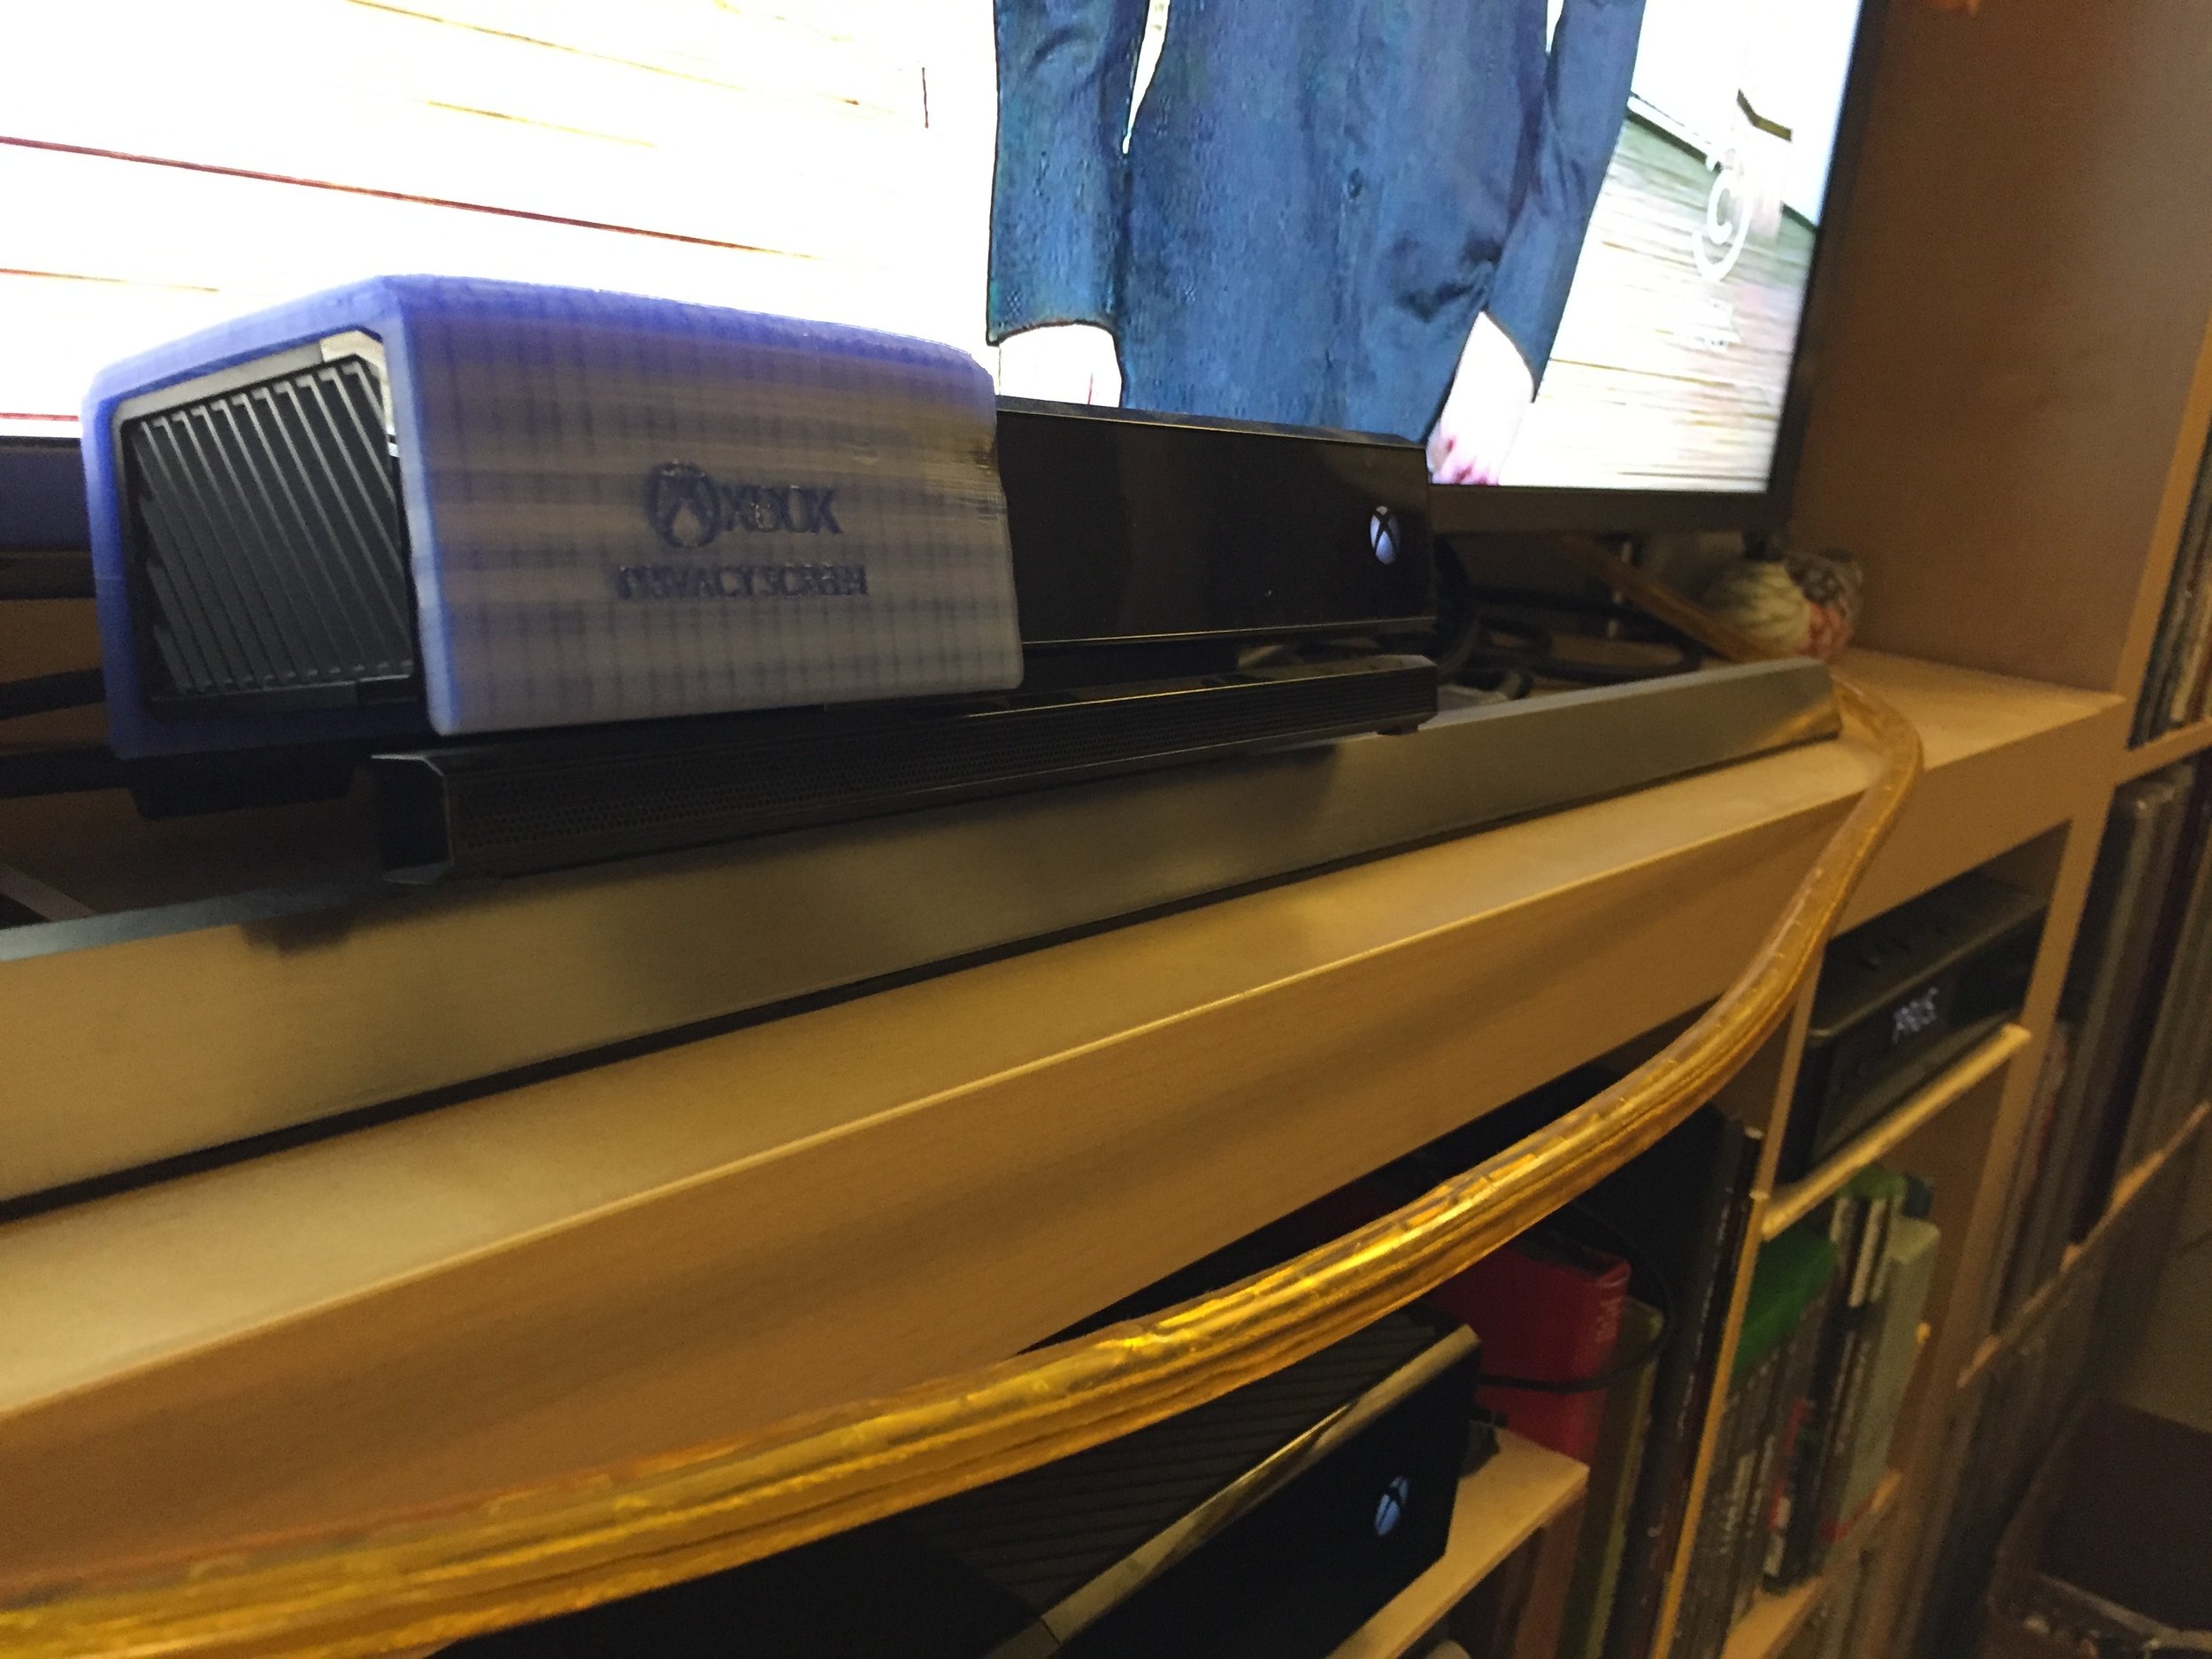
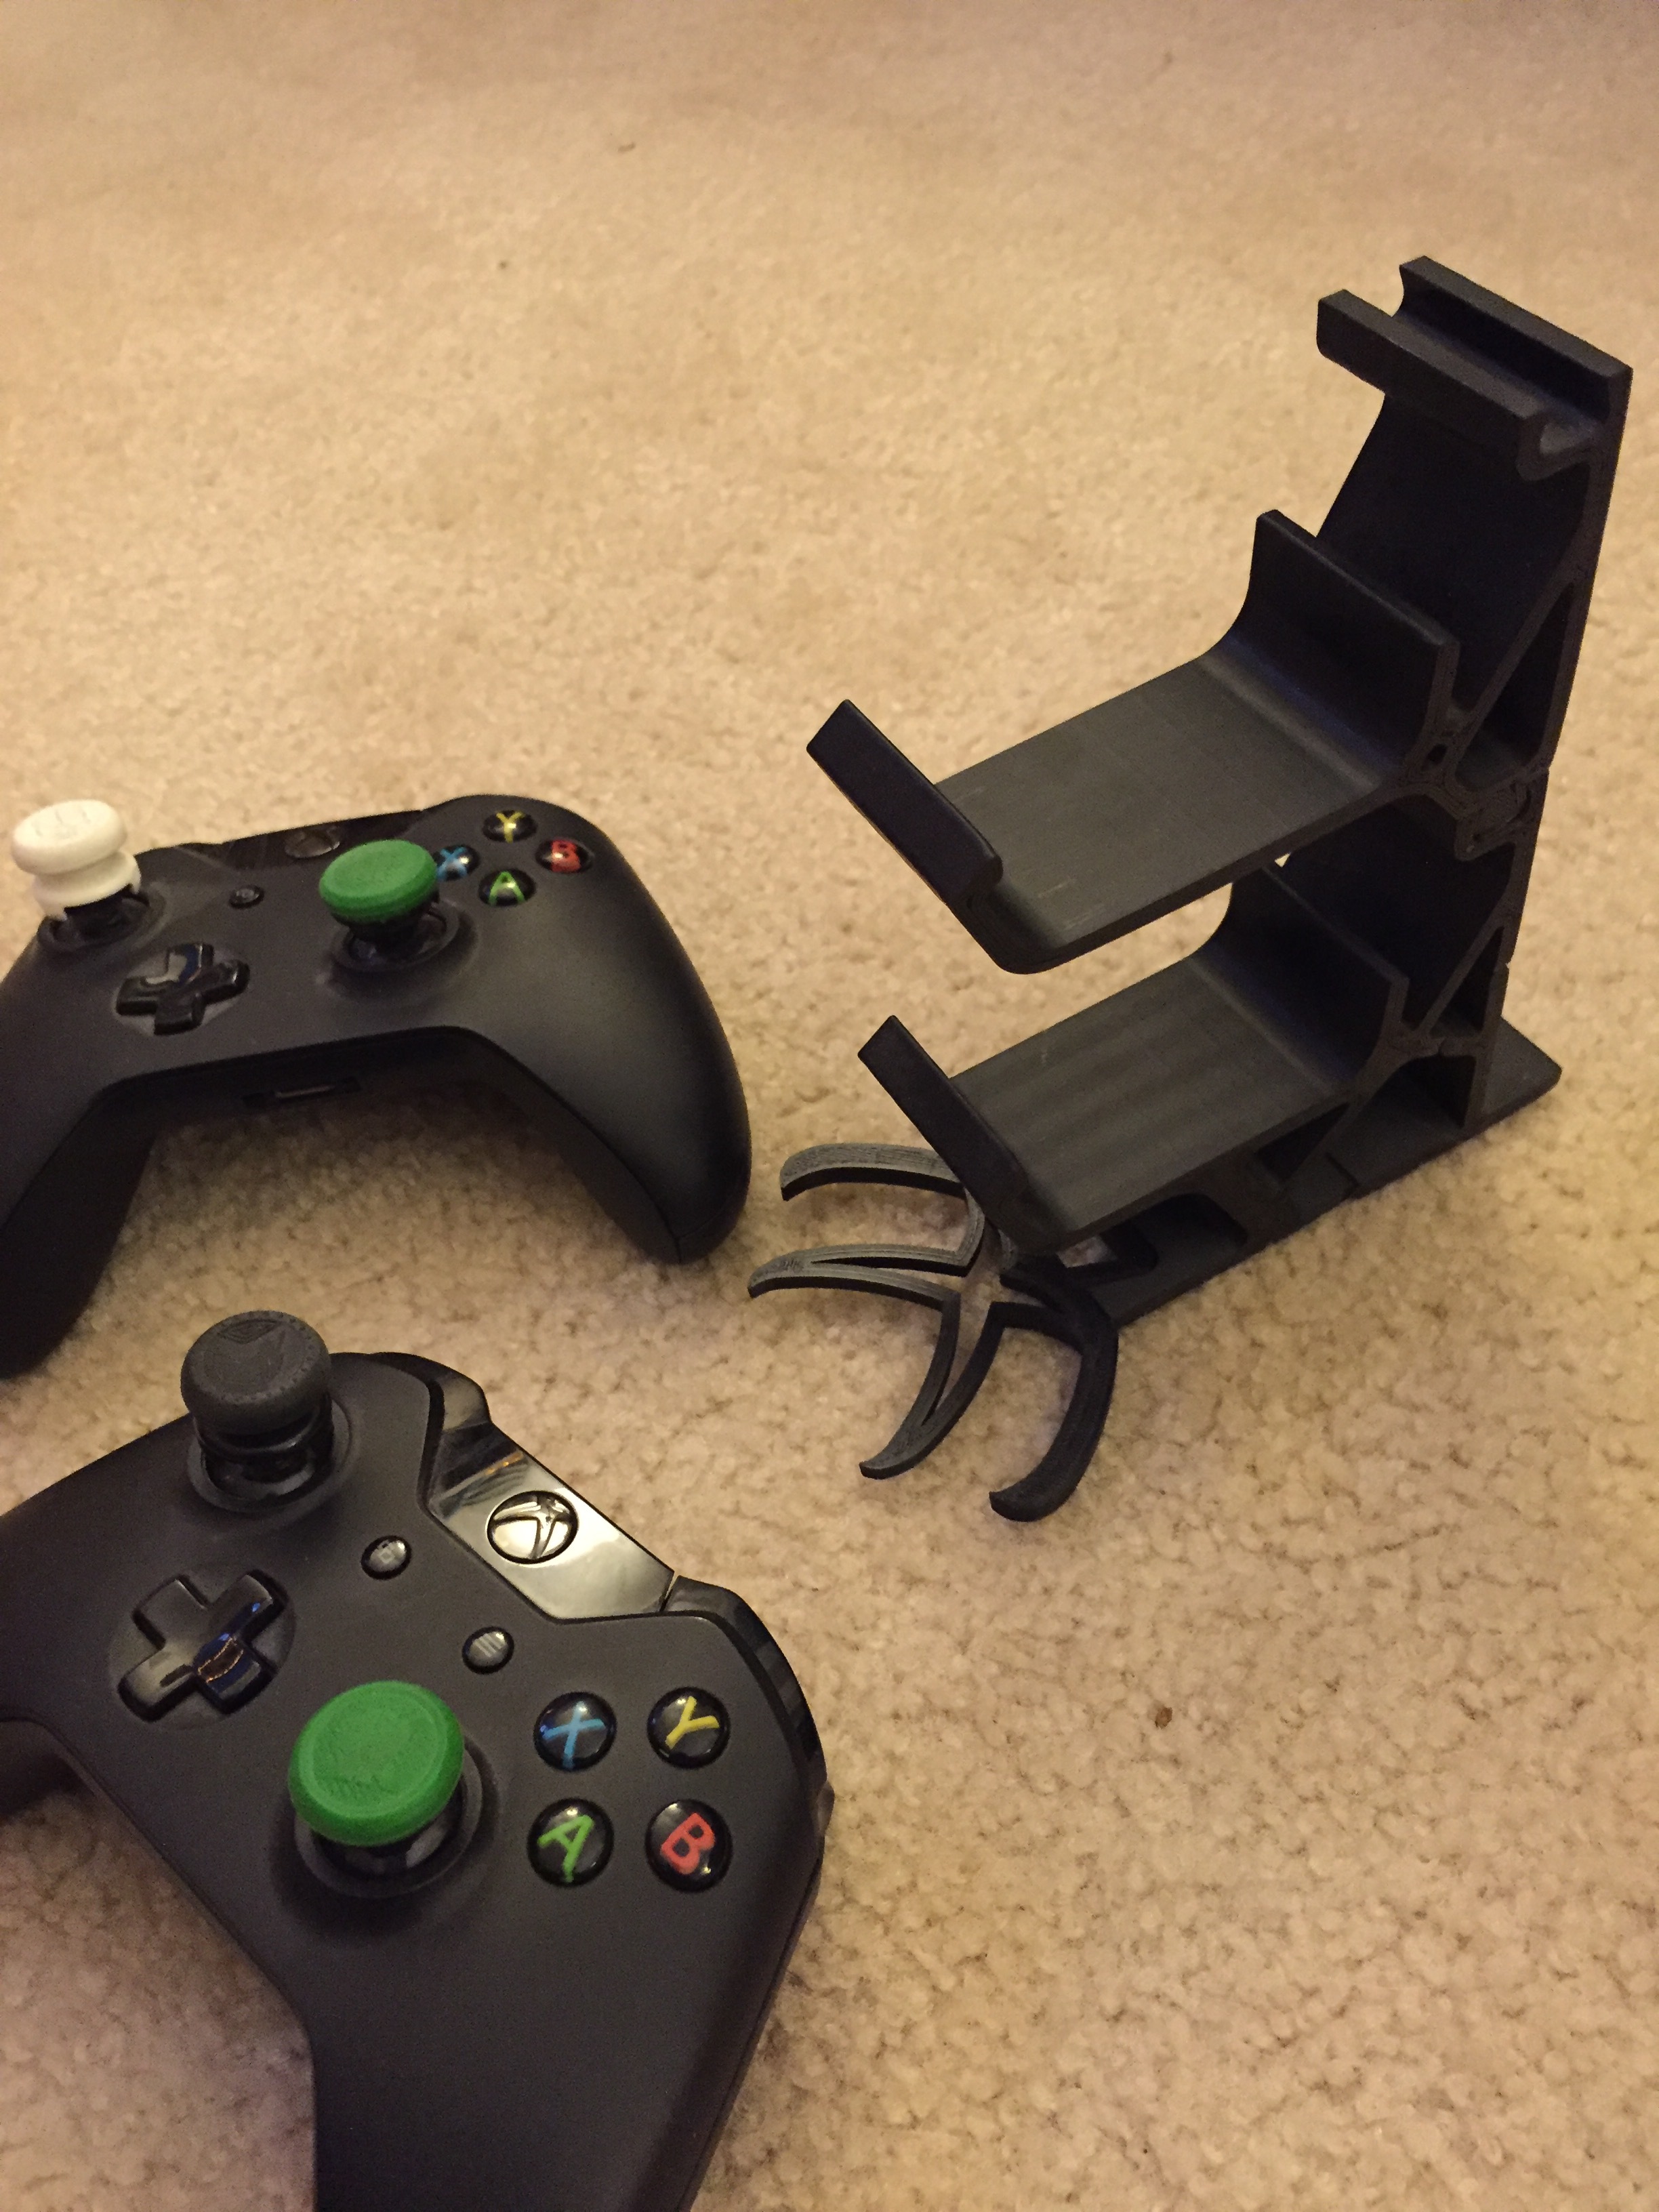
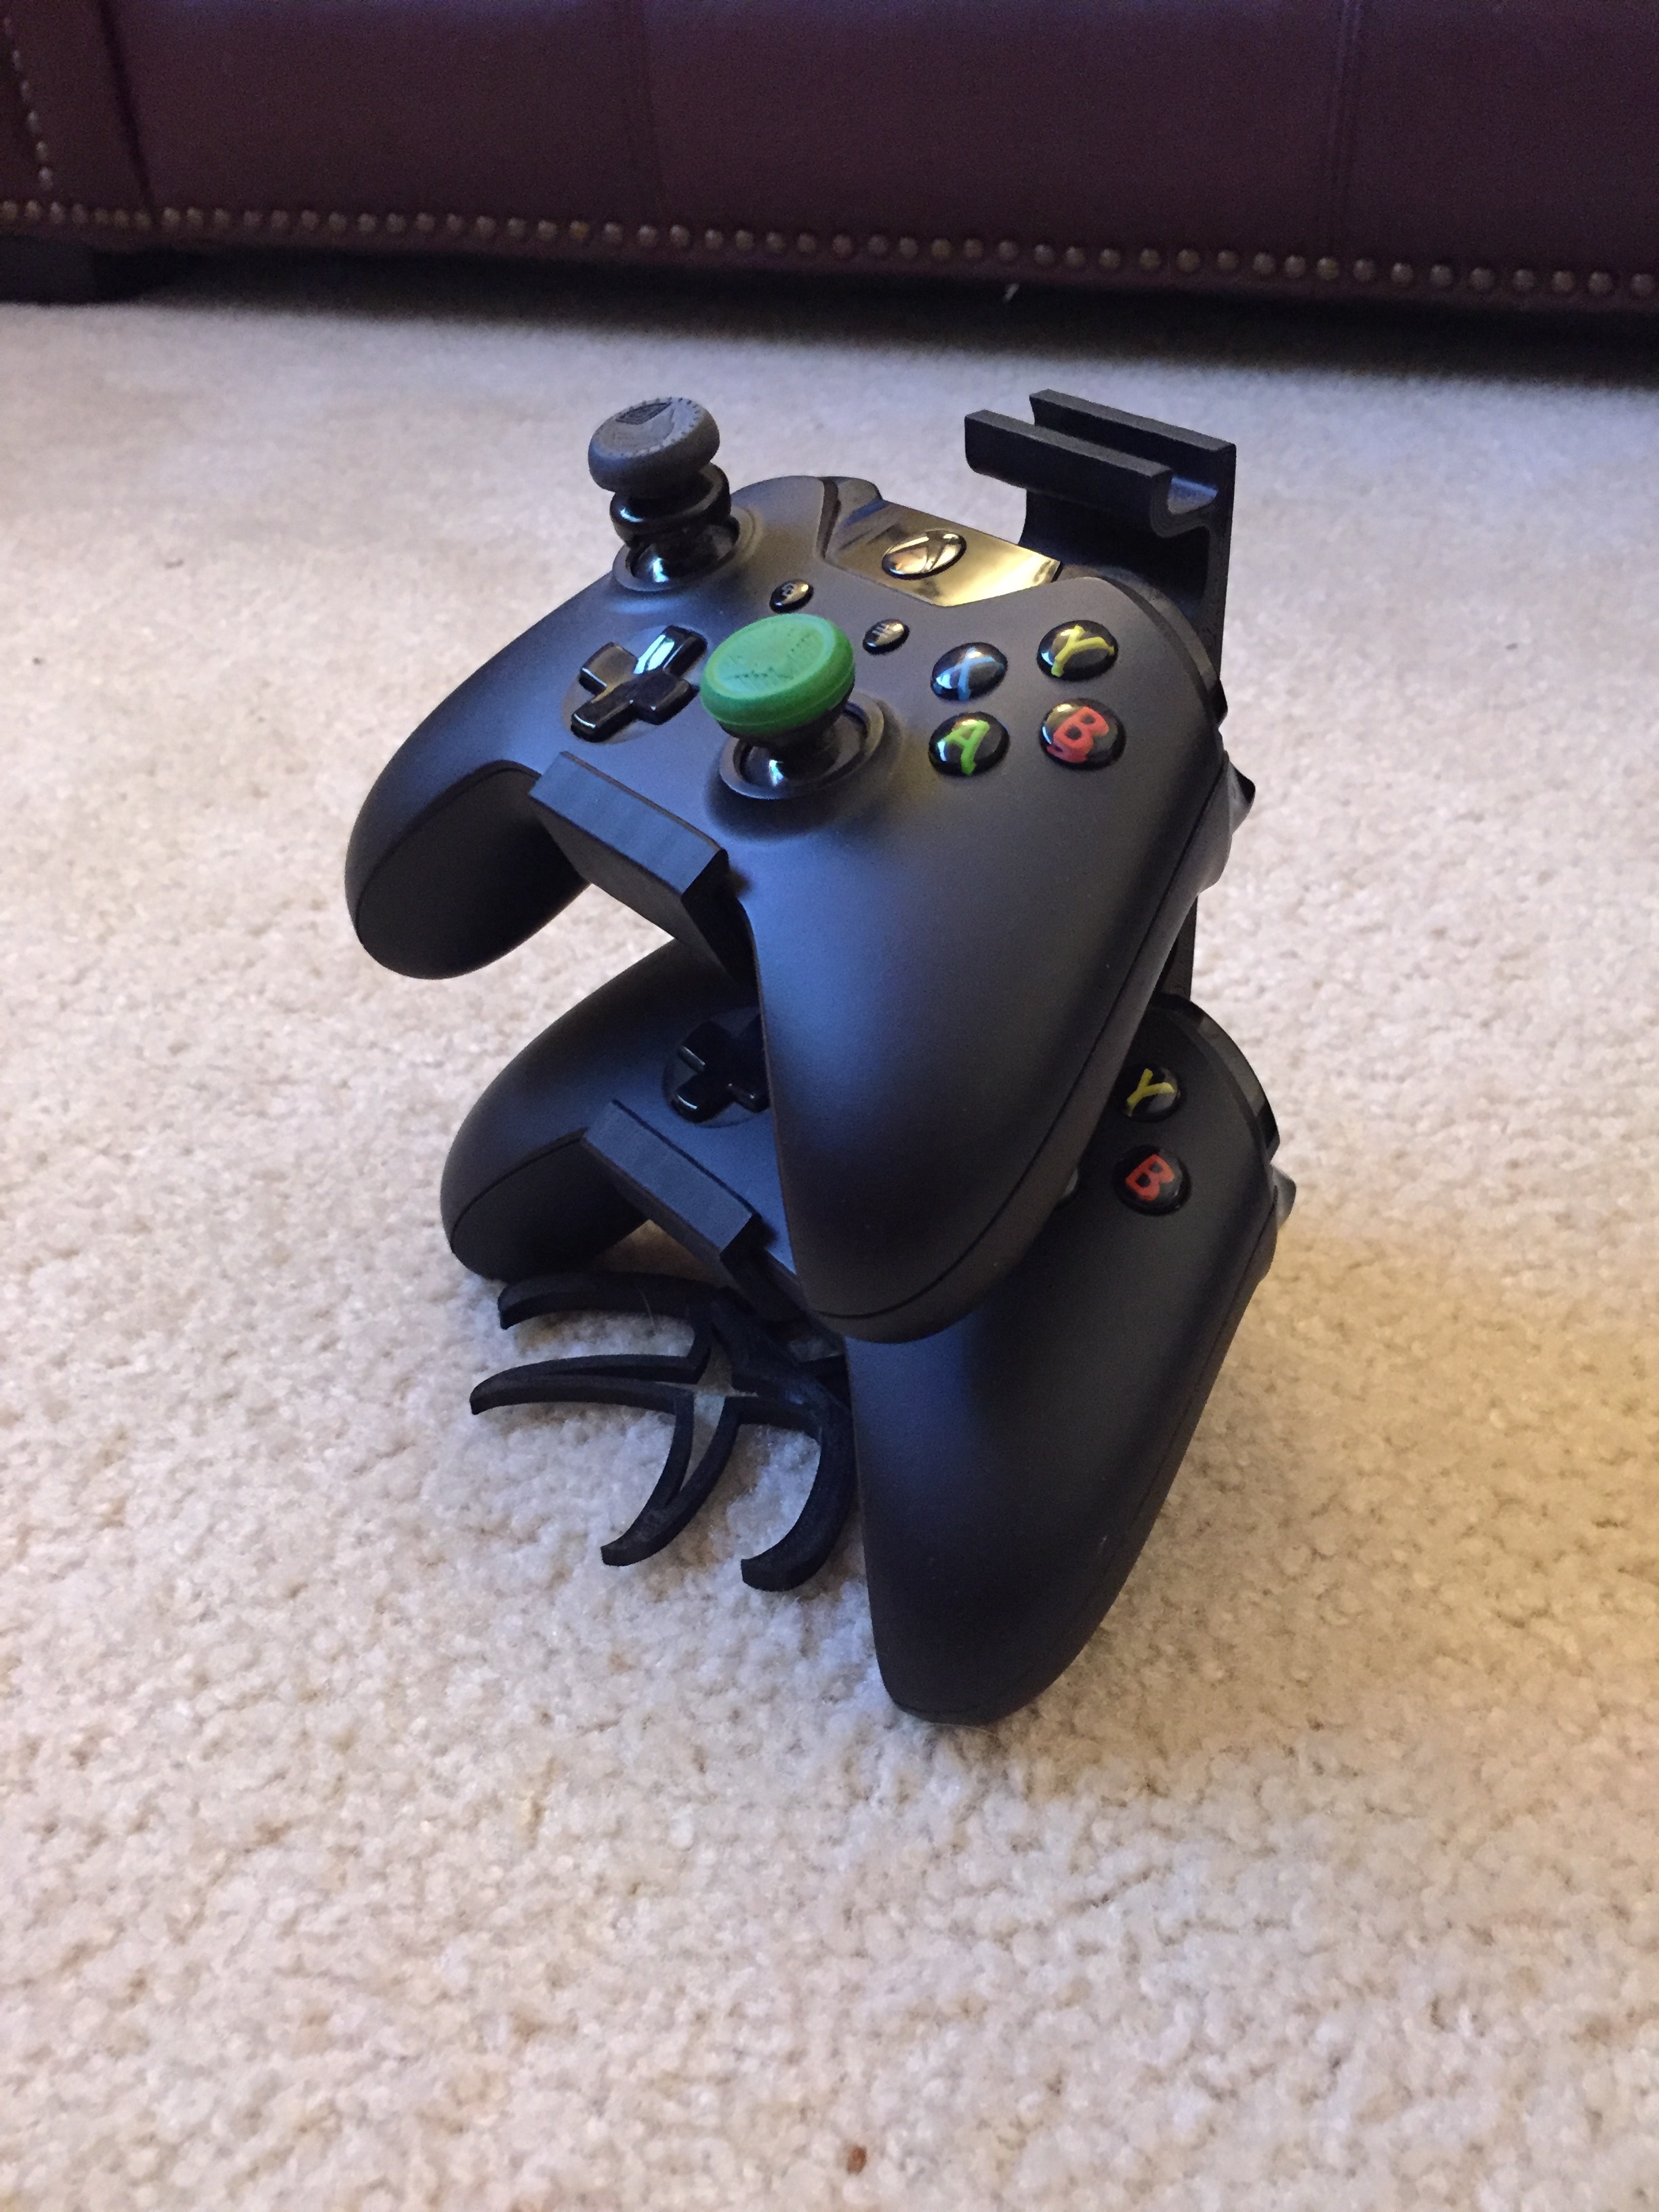
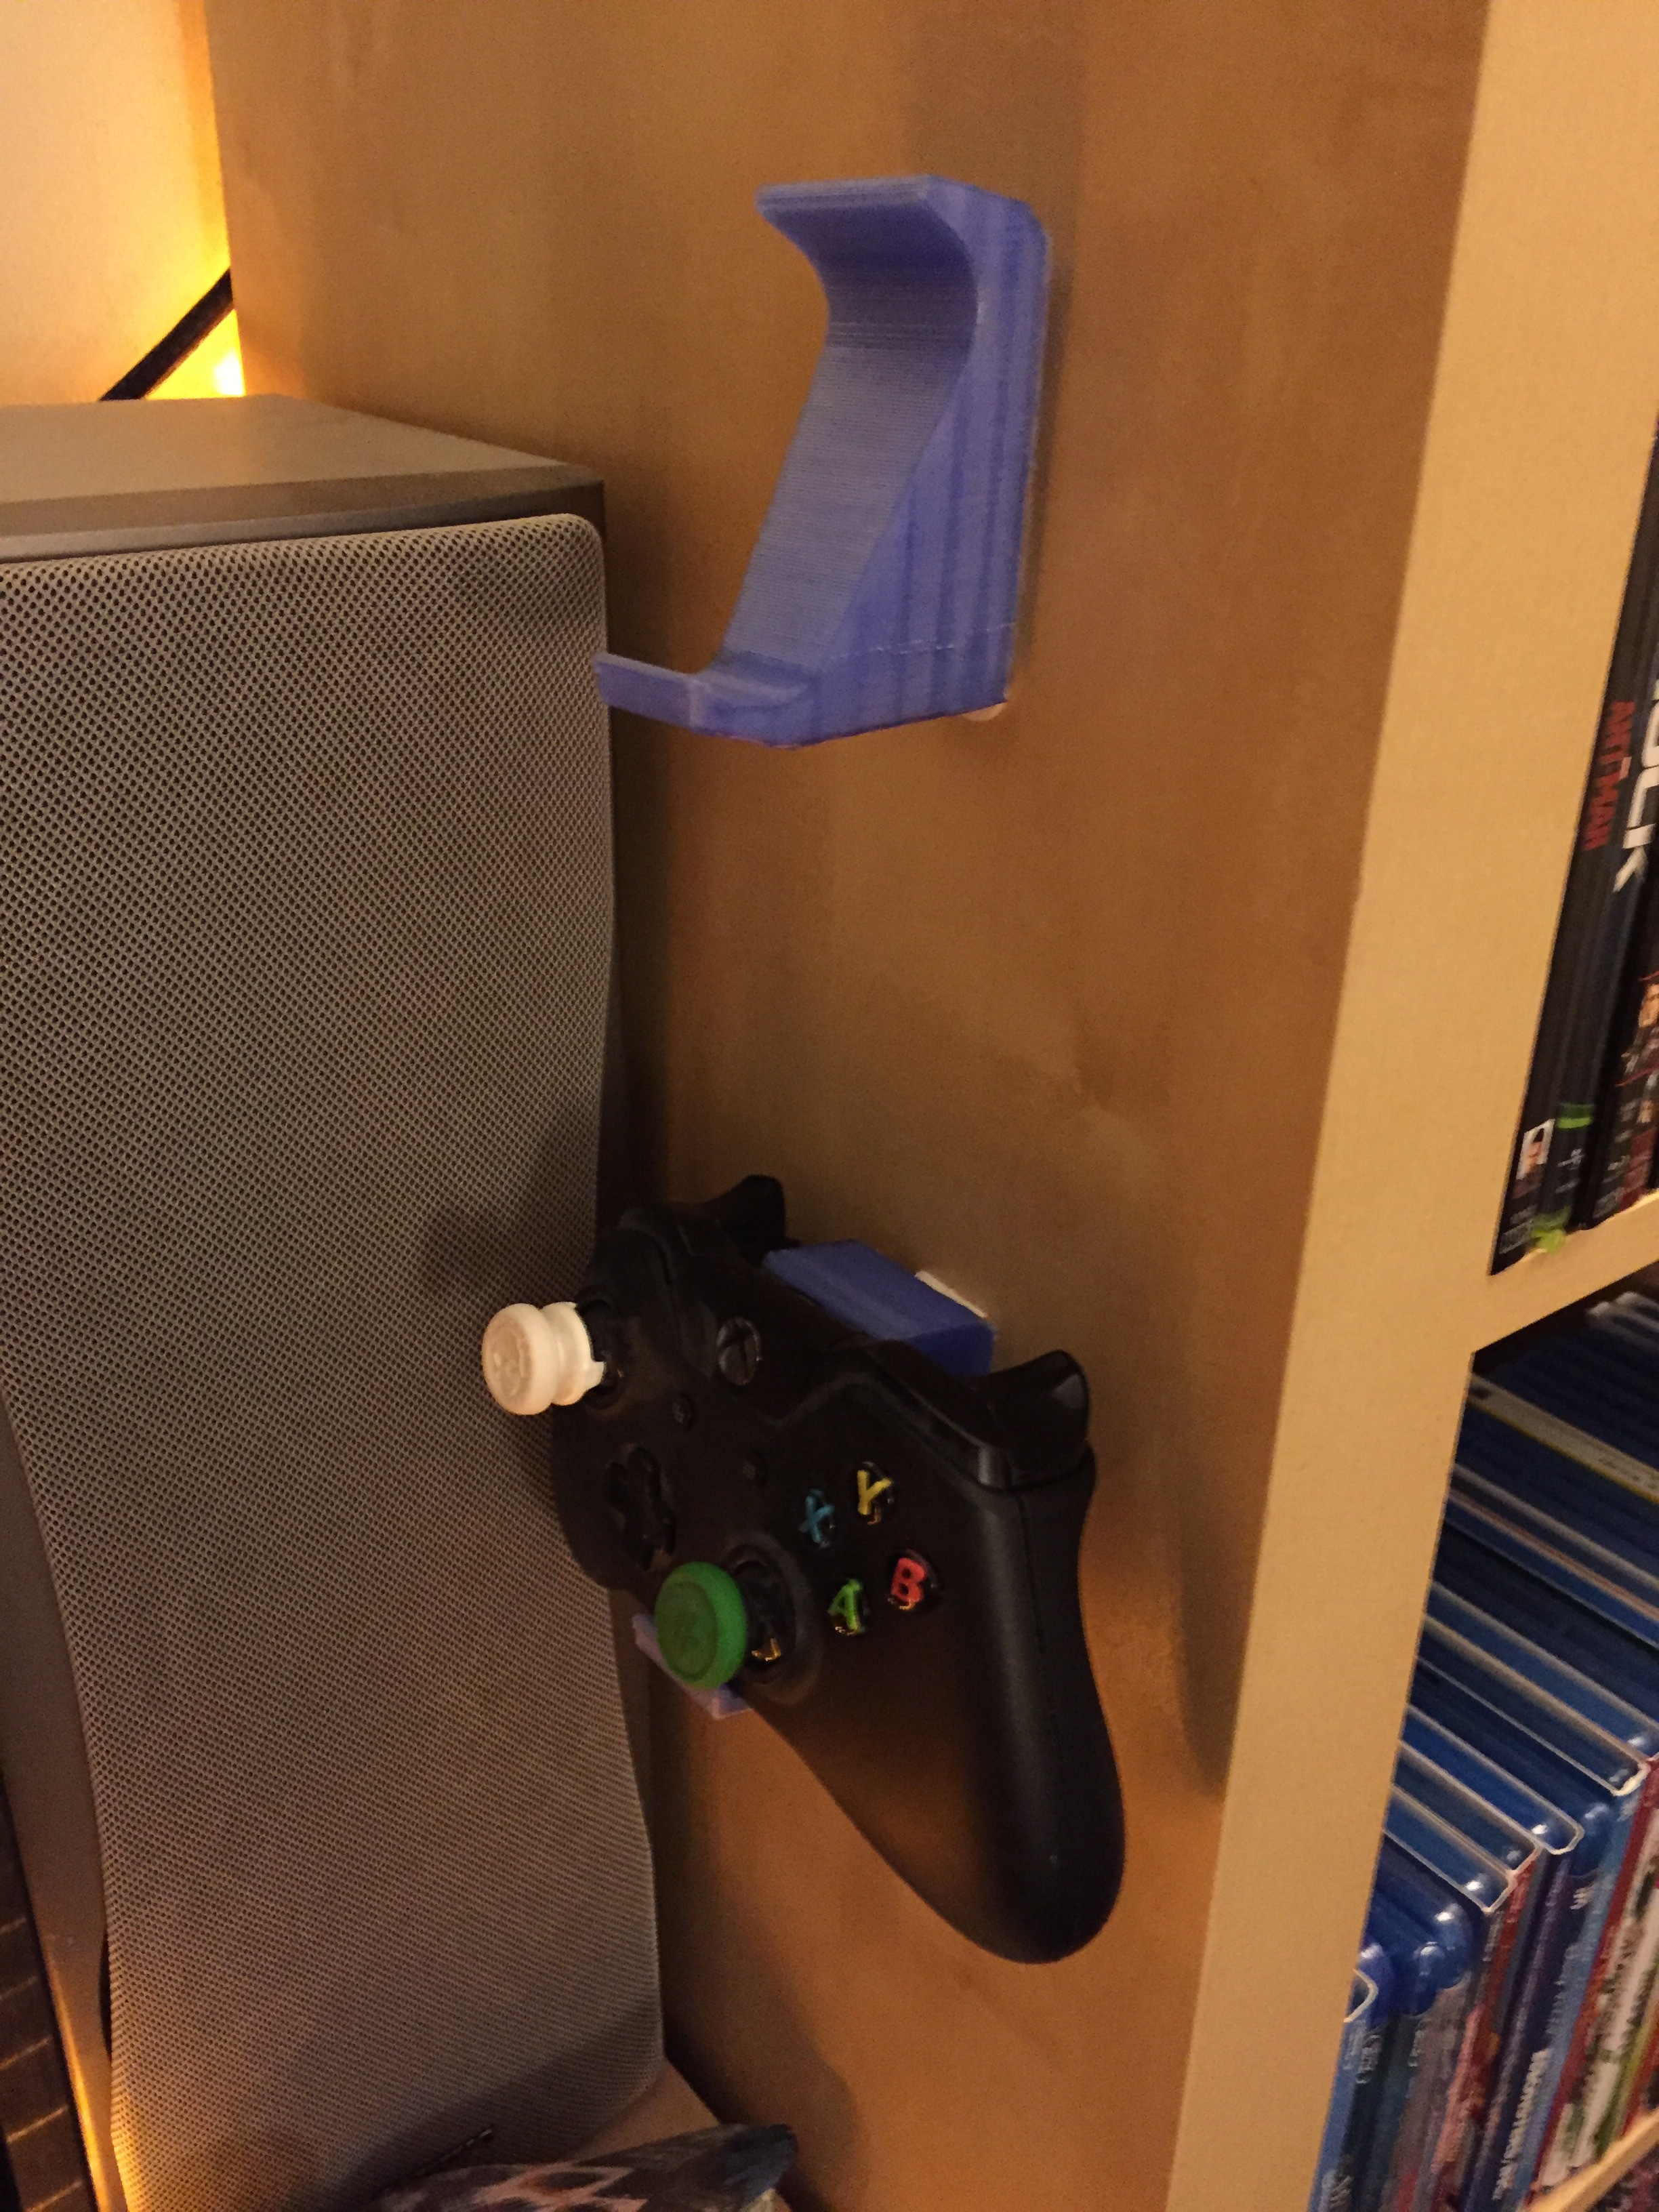
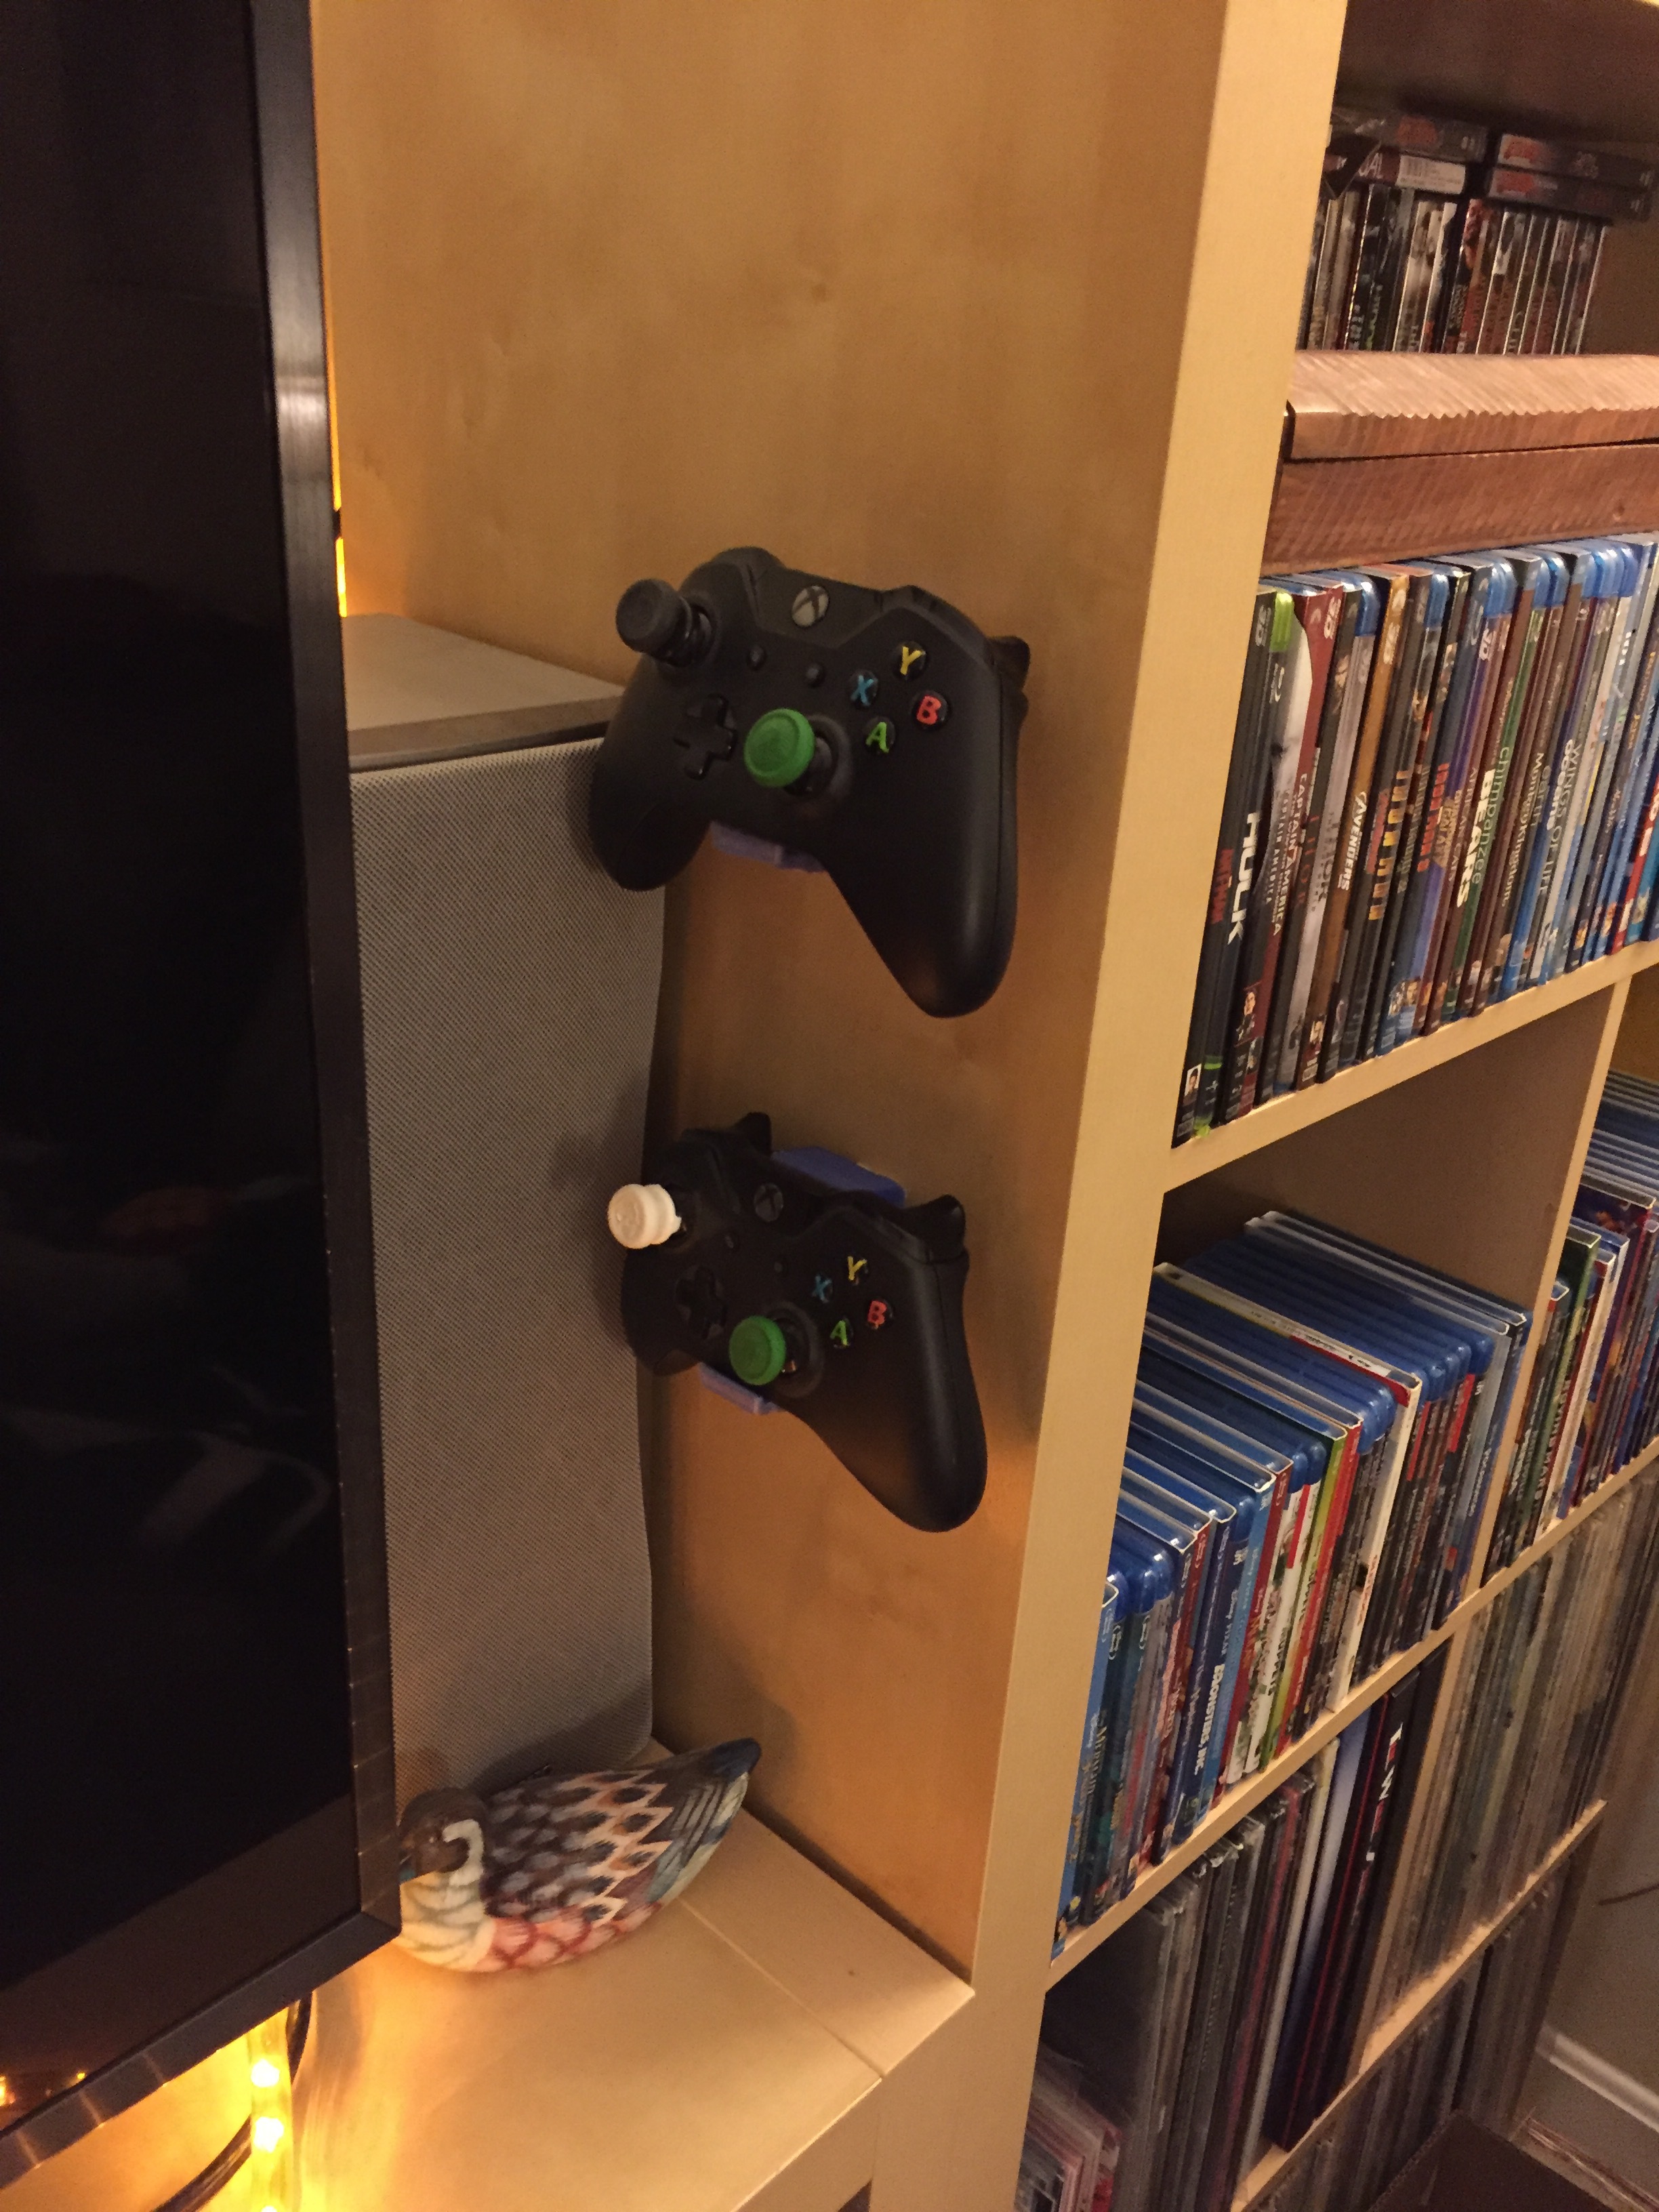
Whether it was a remote control holder for a Roku Remote or a mounting bracket for an Xbox One controller, we were obsessed and starting to feel so comfortable with our machine that our next 3D print is going to be something we create ourselves.
Check out the next blog post to see how that went.
[Spoiler Alert: we got confident fast and 3D printing is the ultimate marathon, not the sprint we had hoped. That doesn’t mean we’re slowing down, just training harder so we can present to you some of our original designs that we will eventually be able to share with others.]
